Editor
Editor overview
The editor provides powerful facilities for loading, saving, and modifying source code. Text is displayed in 40 columns to provide a much higher density interface than the VIC-20’s native BASIC line editor.
Navigation will be familiar to vi users. There are also a variety of commands to handle things like assembly, disassembly, etc.
As with all work you do on your VIC-20, if you care about it, save often.
Buffers
Up to 8 source buffers may be stored in memory at a time, each up to 24KB
in size. These are accessed via a key chord comprised of  and the number
key for the corresponding buffer. You can also navigate to the previous
buffer with +
and the number
key for the corresponding buffer. You can also navigate to the previous
buffer with +  and the next buffer with +
  .
.
Command shortcuts
Below are the basic commands along with their associated key combinations. These commands are available regardless of insertion mode (see the Editor Modes section below for more info on modes).
KEY |
NAME |
DESCRIPTION |
|---|---|---|
|
|
assembles the active program |
|
|
begins debugging at the origin of the assembled program |
|
|
sets a breakpoint at the current line |
|
|
refreshes the screen by redrawing the source buffer |
|
|
list directory, shows the files on the current disk |
|
|
creates a new source buffer and sets it as the active buffer |
|
|
closes the current buffer and opens the next one that is open (if a window has focus, closes that window instead) |
|
|
lists the symbol table for the assembled program |
|
|
lists the macros that are defined and allows viewing their definitions |
|
|
navigates to the next error in the active buffer, wrapping at the end |
|
|
dismisses errors on the current source line |
|
|
checks and formats the current line |
|
|
toggles automatic formatting and syntax checking |
|
|
inserts a newline and advances even if the completed line has an error |
|
|
displays a list of the currently open buffers |
|
|
links the object files in the project using the LINK file on disk |
|
|
opens the memory viewer/editor |
|
|
opens the breakpoint viewer/editor |
|
|
opens the watch viewer/editor |
|
|
displays memory ranges and current resource usage |
|
|
Selects the next drive (limited to #15) |
|
|
Selects the previous drive (limited to #8) |
|
|
Enters EX mode (see the EX commands section below for more on this) |








Warning
Closing a source buffer with  +
+  immediately discards any
unsaved changes in that buffer. The editor does not ask for confirmation.
immediately discards any
unsaved changes in that buffer. The editor does not ask for confirmation.
Help
Press  +
+  (
(?) to display the assembled program and debugger memory ranges,
along with the current usage and limits (e.g. current and maximum number of labels used). Press any key to
return to the editor.
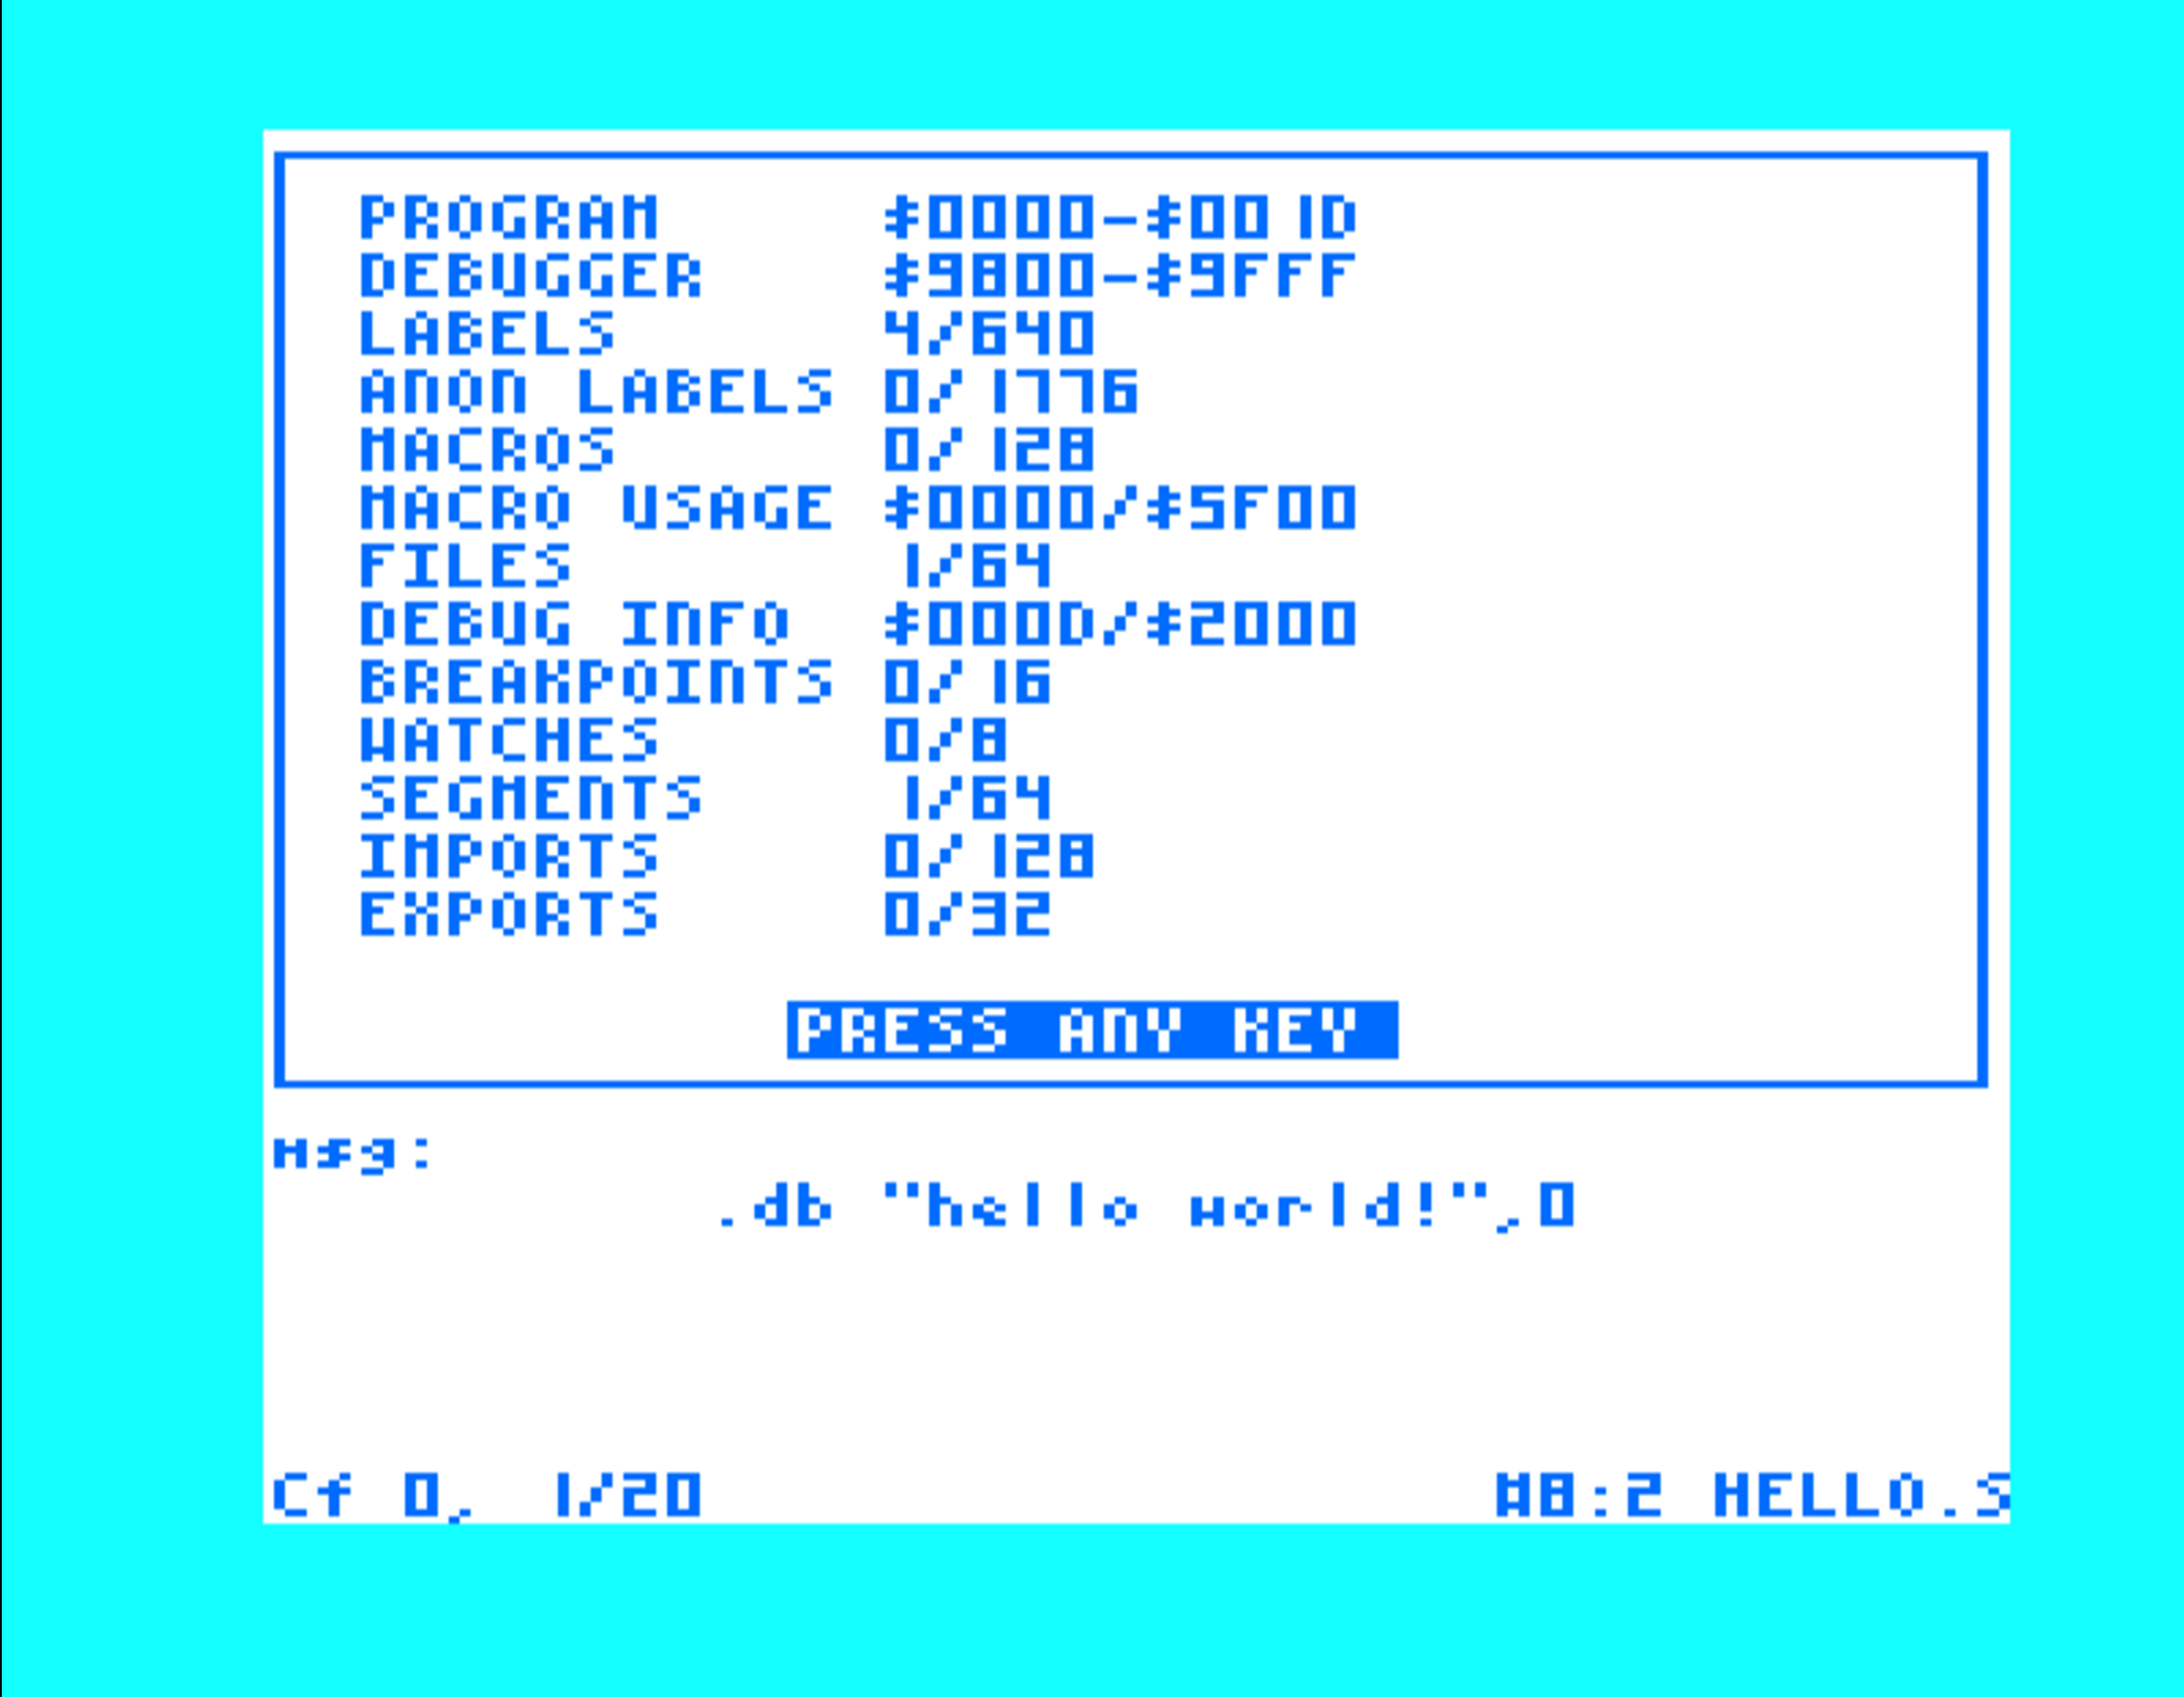
The help overlay summarizes memory allocation and assembler resource usage
Drive selection
The current drive selection is displayed with a # prefix in the status bar.
+  selects the next available drive and +
  selects
the previous available drive. The valid device range is 8-15.
selects
the previous available drive. The valid device range is 8-15.
Directory viewer
Pressing in command mode activates the directory viewer.
This tool presents a paginated view of all files on the disk.
Pressing  while the cursor is on the desired file will load
that file into a new buffer and switch to that buffer.
while the cursor is on the desired file will load
that file into a new buffer and switch to that buffer.
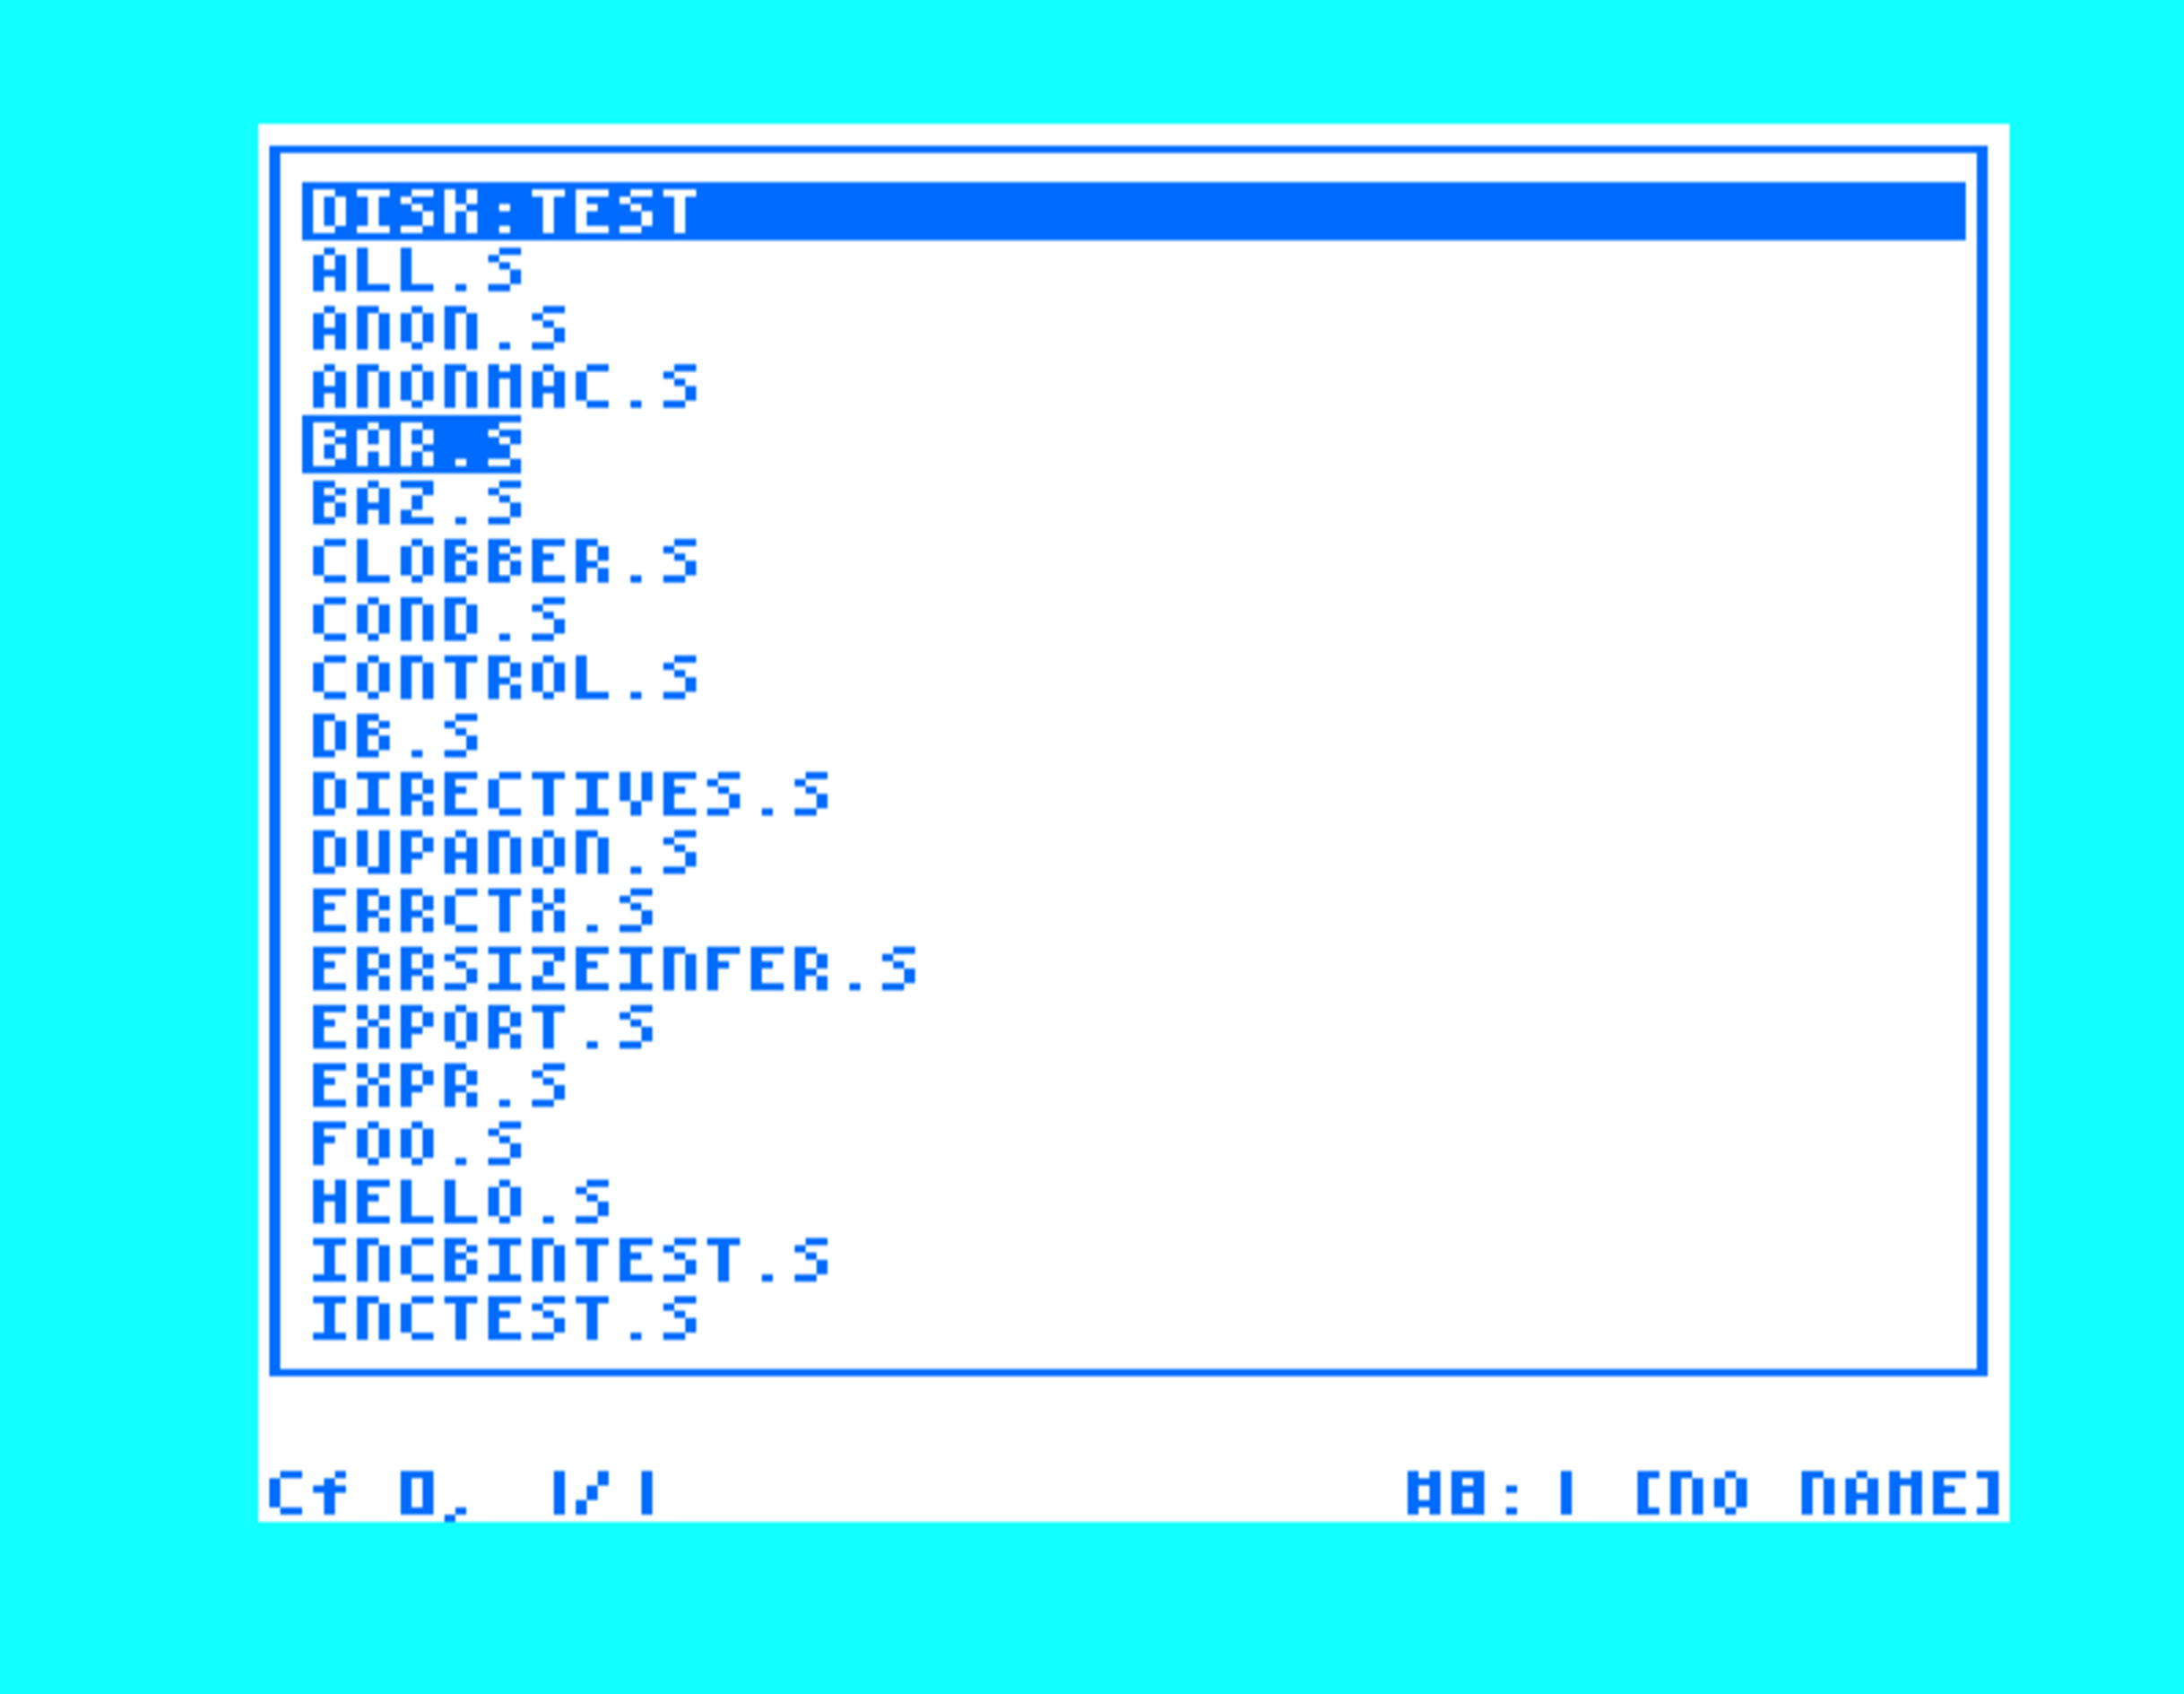
The directory viewer lists the files on the current disk. The highlighted row is the current selection.
While in the directory viewer, pressing  navigates to the last file in the directory and goes
to the first one.
navigates to the last file in the directory and goes
to the first one.
Either  or + dismisses the viewer and restores the screen
you came from.
or + dismisses the viewer and restores the screen
you came from.
Symbol viewer
The symbol viewer, activated with +  , displays all the labels in the program
along with their corresponding address. If no labels are defined, the viewer aborts and reports
, displays all the labels in the program
along with their corresponding address. If no labels are defined, the viewer aborts and reports
NO LABELS in the status bar. Float constants are shown in decimal/scientific notation.
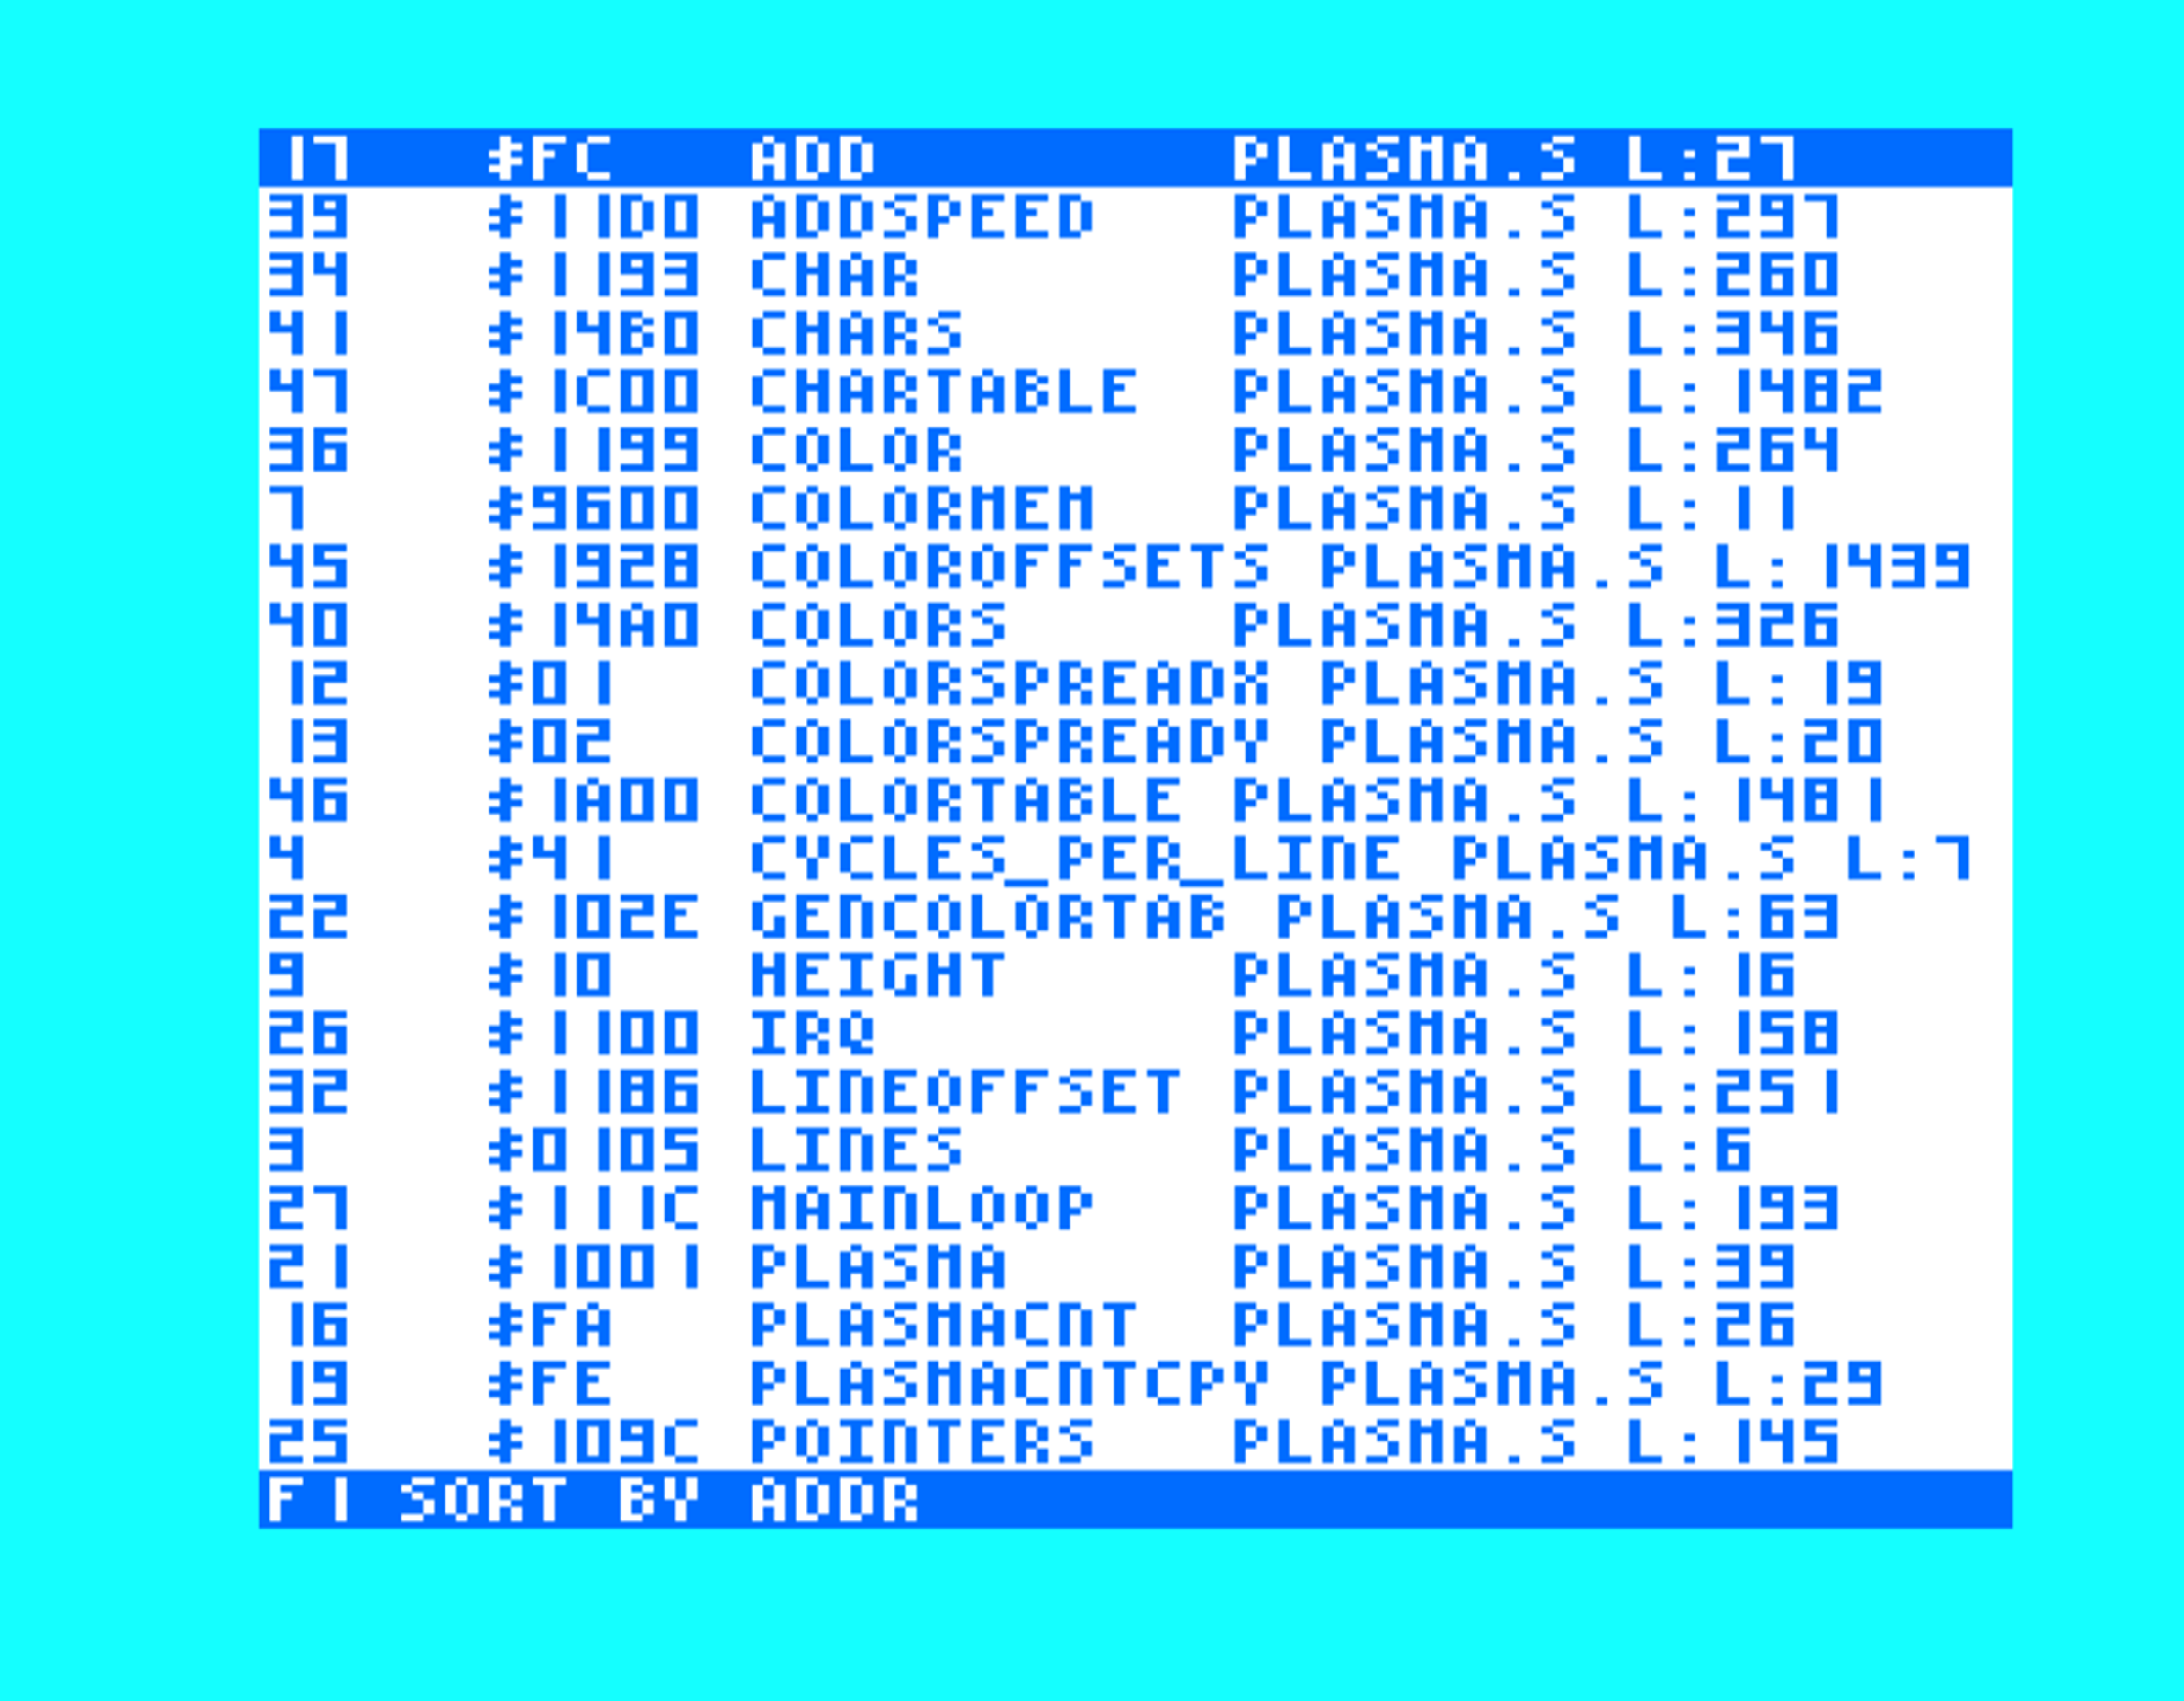
The symbol viewer shows each symbol’s value and definition location. Here the symbols are sorted by name
KEY |
NAME |
DESCRIPTION |
|---|---|---|
|
|
moves the selection up (the list scrolls at the top row) |
|
|
moves the selection down (the list scrolls at the bottom row) |
|
|
goes to the line where the selected symbol is defined (needs debug information from the last assembly) |
|
|
toggles the sort order between alphabetical and by address |
|
|
dismisses the viewer and restores the screen you came from |
|
|
same as the RUN/STOP shortcut |



The cursor keys work in place of the DOWN and UP commands.
Macro viewer
The macro viewer, activated with +  , lists every macro
that is currently defined and allows you to inspect the body of any of them.
, lists every macro
that is currently defined and allows you to inspect the body of any of them.
Macros are registered with the assembler when their definition is assembled
( +  ), so the list reflects the macros from your last assembly, not
necessarily the macros that happen to be visible in the active buffer. If no macros have been
defined, the viewer aborts and reports
), so the list reflects the macros from your last assembly, not
necessarily the macros that happen to be visible in the active buffer. If no macros have been
defined, the viewer aborts and reports NO MACROS in the status bar.
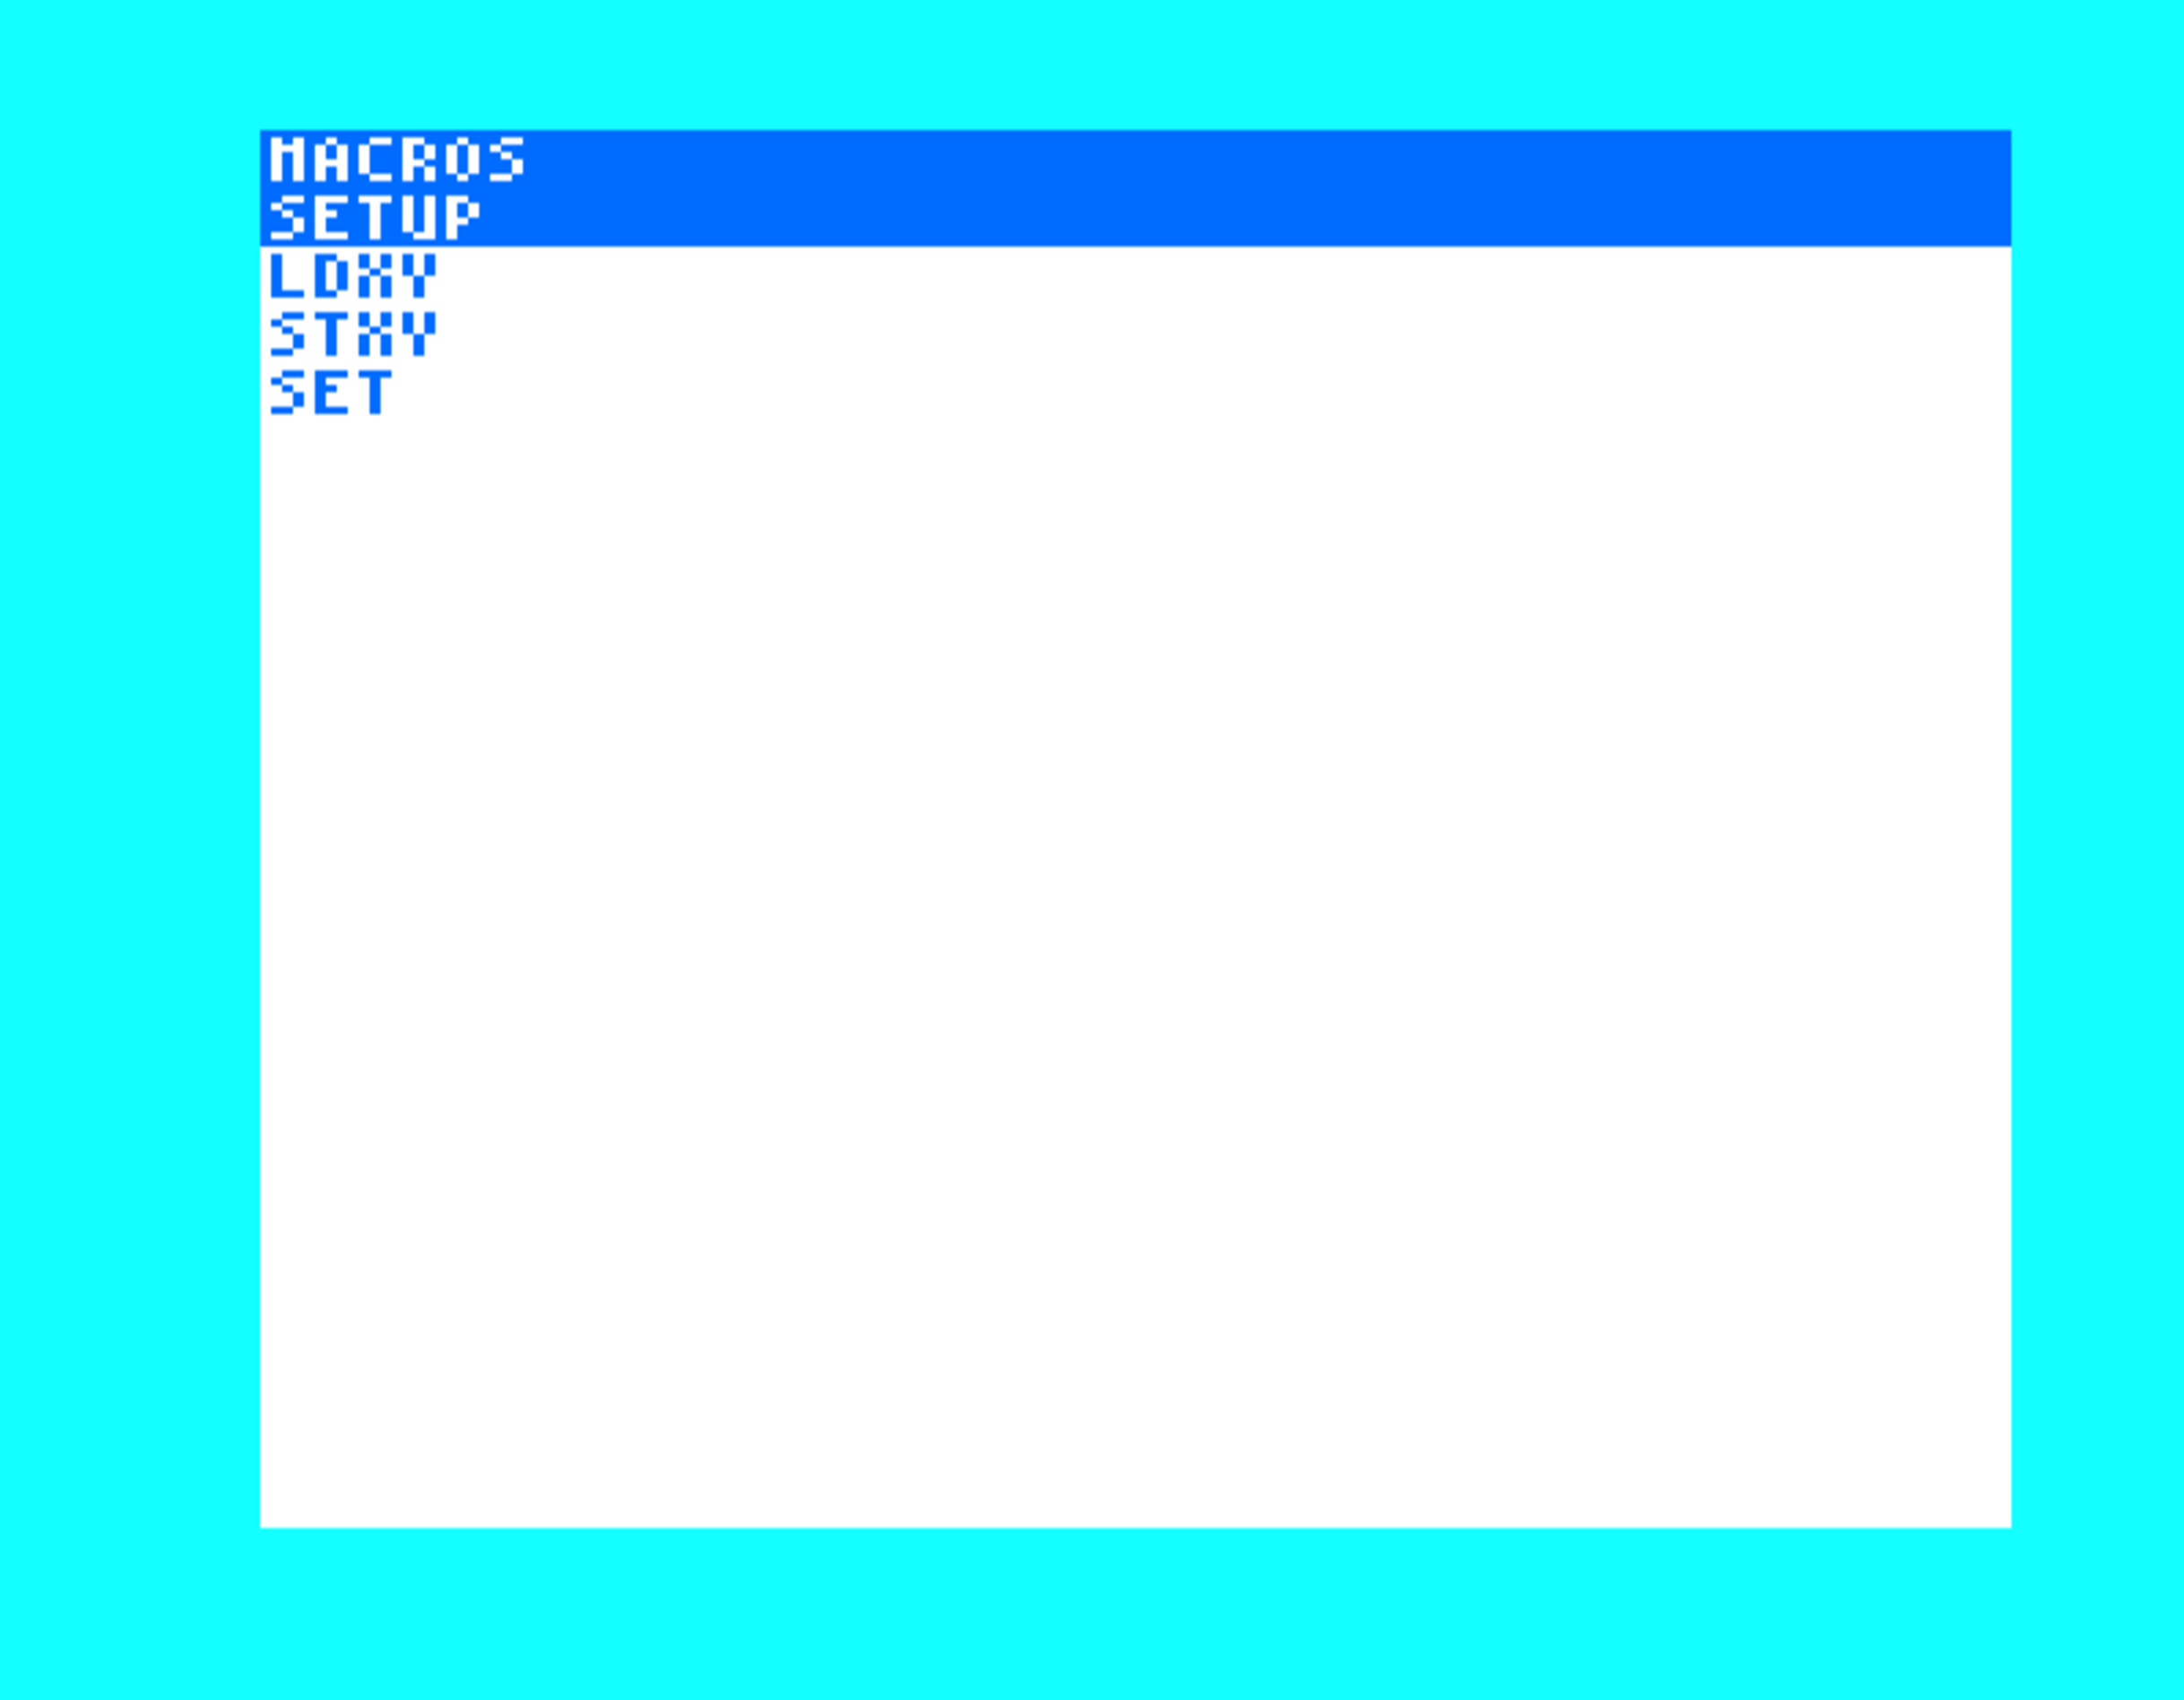
The macro viewer lists the macros defined by the most recent assembly.
The viewer has two modes:
MACRO LIST: the initial mode, titled MACROS. Each row is the name of one
defined macro, in the order of their definition. The highlighted row is the
current selection.
DEFINITION: selecting a macro opens its definition. The screen is cleared and the top row shows the macro’s name followed by its parameter names; the rows below it are the lines of the macro’s body as defined.
KEY |
MODE |
DESCRIPTION |
|---|---|---|
|
both |
moves the selection up (macro list) or scrolls up (definition) |
|
both |
moves the selection down (macro list) or scrolls down (definition) |
|
both |
goes to the first macro (or first line of the definition) |
|
both |
goes to the last macro (or last line of the definition) |
|
macro list |
opens the definition of the selected macro |
|
definition |
returns to the macro list |
|
macro list |
exits the viewer and restores the editor screen |
|
both |
exits the viewer from either mode, without stopping at the macro list |
Lists longer than the screen scroll automatically as the selection reaches the top or bottom row.
Note that the viewer is read-only; it is a way to confirm what the assembler
actually recorded for a macro. See the Assembler document for the
.MAC directive and the limits on macro count and size.
Function (F key) commands
KEY |
NAME |
DESCRIPTION |
|---|---|---|
|
|
saves Monster’s state and transfers control to the last assembly (or enters BASIC if none) |
|
|
selects which expansion blocks the user’s program (and BASIC) run with |
|
|
displays a list of the currently open buffers |
|
|
displays the active log file (if any) |
|
|
activates the breakpoint viewer |
|
|
activates the watch viewer |
|
|
opens the text-based monitor as a window (see the Monitor section) |
|
|
activates the memory viewer |



EX commands
Pressing  puts the editor in EX mode. In this mode, a string is accepted from the user.
The format of this string is a command (usually one or two characters) followed by zero or more
arguments.
puts the editor in EX mode. In this mode, a string is accepted from the user.
The format of this string is a command (usually one or two characters) followed by zero or more
arguments.
Example
For example, :s HELLO.S writes a file named HELLO.S to disk.
Uppercase filenames are recommended. Lowercase PETSCII codes may appear as graphic
characters in VIC-20 directory listings, and quoted .INC and .INCBIN filenames must
match the case of the filename on disk.
The table below details the available commands in EX mode.
COMMAND |
NAME |
ARGS |
DESCRIPTION |
|---|---|---|---|
|
|
Filename |
assembles the given filename |
|
|
Filename |
exports the active assembly to a binary file (no .PRG header) |
|
|
Filename |
exports the loaded assembly, debug information, and symbol table as a debug ( |
|
|
Filename |
loads the given debug ( |
|
|
Filename |
loads the buffer with the contents of the given file |
|
|
Filename |
exports the active assembly to an object file with the given filename |
|
|
Filename |
exports the active assembly to a .PRG file |
|
|
Name |
renames the buffer to the given name |
|
|
Filename |
saves the buffer to the given filename |
|
|
N/A |
saves all modified buffers that are open currently |
|
|
Filename |
scratches (deletes) the given filename |
Assemble file
Syntax: :a filename
Behavior: Assembles the contents of the given file. This is functionally the same as opening
the given file and assembling it with debug information ( + ).
Invoking the debugger will invoke it for the last assembled file (not the current source buffer) in this scenario. The debugger cares about the active debug information not the active file.
Example
:a HELLO.S
Export binary
Syntax: :B filename
Behavior: Exports the active assembly ( + ) to the given file as binary. This means
no load address is prepended to the file. This can be useful if you are using
Monster to create level data or other code loaded by your main program. It
can also be used to export things like data tables for use with .INCBIN
Example
:B DATA.B
Export debug file
Syntax: :D filename
Behavior: Exports the loaded assembly, debug information, and symbol table as a debug
(.D) file. You may think of these as debuggable versions of your release
binaries: a .D file can be loaded (:L) and debugged without having to
reassemble/relink it. This command should be run after a successful assembly
or link.
Example
:D HELLO.D
Load debug file
Syntax: :L filename
Behavior: Loads the given debug (.D) file. The symbol table, debug information, and
program data are all loaded into virtual memory so you can begin debugging,
view symbols, etc. as if you had just assembled the program.
Example
:L HELLO.D
Edit
Syntax: :e filename
Behavior: Loads the given filename to a new buffer and activates it.
Example
:e HELLO.S
Export object
Syntax: :o filename
Behavior: Exports the active assembly to an object file with the given name.
Assemble the source with + before running this command.
The filename must have a .o (or .O) extension if you want the linker to
pick it up at link time. See the Linker document for more on
object files and linking.
Example
:o HELLO.O
Export .PRG
Syntax: :P filename
Behavior: Exports the active assembly ( + ) to the given file as a .PRG file. This means
a load address is prepended to the file prior to export. This produces a
standalone executable you can use when you are done working on your program.
Example
:P GAME.PRG
Rename
Syntax: :r buffername
Behavior: Renames the active buffer to the given name.
Example
:r TEST2.S
Save
Syntax: :s [filename] or :s@ [filename]
Behavior: Saves the active buffer to a file with the given name. If no name is given, the active buffer’s name is used.
Warning
The @ suffix deletes the existing file before writing the replacement. If
the subsequent save fails, the original file has already been deleted.
Example
:s NEW.S, :s@ OLD.S, and :S@ (save all).
Save all
Syntax: :S or :S@
Behavior: Saves all buffers that have been modified since they were last saved.
As with the Save command, adding @ to the command (S@) will overwrite
existing files if they exist.
Warning
:S@ applies the delete-then-save operation to every modified buffer. A save
failure can leave an original file deleted without a completed replacement.
Example
:S@
Scratch
Syntax: :x filename
Behavior: Deletes the file of the given name.
Warning
:x scratches the file from disk immediately and does not ask for
confirmation. Monster provides no undo for this operation.
Example
:x TEST.S
Editor modes
The editor is a modal editor, that is, it behaves differently depending on which mode it is
in. The modes are all accessed from the default one (called command mode) and each returns
to command mode when is pressed. Below is a list of the modes along with their function and details on how to enter them.
Command mode
This is the default mode. The primary function of command mode is to navigate around the
source code and to enter other modes.
Navigation behaves similarly to vi and many basic vi commands are supported.
The following keys are handled in command mode.
KEY |
NAME |
DESCRIPTION |
|---|---|---|
|
|
moves the cursor to column 0 |
|
|
at the EX prompt, enter a line number to move the cursor to it |
|
|
opens the buffer corresponding to the number key that is pressed |
|
|
opens the buffer before the active one (if there is one) |
|
|
opens the buffer after the active one (if there is one) |
|
|
jumps forward to the next source position that was “jumped” to |
|
|
jumps back to the last source position that was “jumped” to |
|
|
moves the cursor to the end of the current line |
|
|
inserts a banner (full line of semicolons) below the cursor |
|
|
moves the cursor to the first character in the file |
|
|
if the cursor is on a label reference, navigates to that label |
|
|
moves the cursor to the last line in the file |
|
|
moves the cursor left |
|
|
moves the cursor down |
|
|
moves the cursor up |
|
|
moves the cursor right |
|
|
moves the cursor to the top left of the screen |
|
|
moves the cursor to the bottom left of the screen |
|
|
deletes everything on the line before the cursor |
|
|
deletes the contents of the line after the cursor’s position |
|
|
deletes the next line |
|
|
deletes the next word |
|
|
moves the contents of the next line to the end of the current one |
|
|
moves the cursor to the first column of the current line |
|
|
enters insert mode and moves to the next character |
|
|
enters insert mode and moves to the last character in the current line |
|
|
deletes from the cursor to the end of the line and enters insert |
|
|
opens a new line below the cursor and moves to it |
|
|
opens a new line above the cursor and moves to it |
|
|
deletes the character under the cursor and enters insert mode |
|
|
deletes the line under the cursor and enters insert mode |
|
|
pastes the contents of the copy-buffer to the line below the cursor |
|
|
pastes the contents of the copy-buffer to the line above the cursor |
|
|
enters insert mode and moves to the first character in the current line |
|
|
moves to the previous empty line or start of file if there isn’t one |
|
|
moves to the next empty line or end of file if there isn’t one |
|
|
moves to the previous comment banner - |
|
|
moves to the next comment banner - |







Insert mode
Entering insert mode allows the user to enter text at the cursor location. Keystrokes are interpreted as their corresponding ASCII character value in this mode, so there are no special commands accessed via them.
There are various keys that enter insert mode from command mode:  , ,
+ , etc.
, ,
+ , etc.
Several ASCII punctuation characters do not appear on a VIC-20 keyboard. Monster maps them from the following VIC keys; the same combinations apply to VICE’s virtual keyboard:
CHARACTER |
VIC-20 KEY |
|---|---|
backslash ( |
|
caret ( |
up arrow |
underscore ( |
|
grave accent ( |
left arrow |
left brace ( |
|
vertical bar ( |
|
right brace ( |
|
Visual mode
In visual mode (accessed via  in command mode), the user can select
a block of text which may then be deleted or copied. Below is the table of supported commands
while in visual mode. Pressing will return the user to command mode.
in command mode), the user can select
a block of text which may then be deleted or copied. Below is the table of supported commands
while in visual mode. Pressing will return the user to command mode.
KEY |
NAME |
DESCRIPTION |
|---|---|---|
|
|
deletes the selected text and copies it to the copy buffer |
|
|
copies the selected text (in visual mode) to the copy buffer |
Visual line mode
Visual line mode, which is entered by pressing + from command mode, is similar to visual mode,
but selections include only entire lines. Upon entering visual line mode, the current row is selected.
Navigating to rows above or below will select additional lines. The delete and yank keys behave the same as they do
in visual mode.
Copy buffer
When text is deleted (delete line, delete word) or yanked, it is stored to a buffer where
it may be recalled by the paste commands ( , paste below and + paste above).
When the paste command is executed, the buffer is cleared.
, paste below and + paste above).
When the paste command is executed, the buffer is cleared.
The copy buffer is stored in a dedicated memory bank, so a selection may be as big as a source buffer (24KB).
Because the editor is limited to 40 columns in width, the first and last lines are handled specially. If the first or last line will not fit, the paste is aborted. This is similar to how the BACKSPACE and JOIN LINE commands behave, which will error with a beep if the resulting line would not fit on screen.
Line endings
Files are stored with $0d line endings, but files saved with UNIX-style line endings ($0a) will be automatically converted when the file is loaded.
Jump lists
When the user “jumps” to a different position in the source (gg, G, goto line,
find, [, and ]) the editor saves the old position. To recall the positions
that were “jumped” from are two commands: jump-forward ( + ) and jump-backward ( +  ).
).
Syntax checking
With automatic formatting enabled, the editor checks a line when you press
or navigate to another line or buffer. Navigating from a
line checks the syntax of the line being left without formatting it (or preventing the move
like RETURN does).
In insert mode, checks and formats the completed line. If it
has an error, it is displayed immediately and the newline is aborted to allow
you to correct the error.
Use + to force a newline to be inserted despite it
containing an error. The invalid line is left unformatted.
Press +  to check the whole current line without inserting a
newline, in either insert or command mode. If valid, the line is formatted
using the current indentation setting, with the cursor following the same
text. If invalid, its error is displayed and the line is left unformatted.
to check the whole current line without inserting a
newline, in either insert or command mode. If valid, the line is formatted
using the current indentation setting, with the cursor following the same
text. If invalid, its error is displayed and the line is left unformatted.
+  toggles both automatic formatting and syntax checking. When
disabled, navigation and finishing a line do not check or format the source.
+ checks and formats the current line without affecting this setting.
toggles both automatic formatting and syntax checking. When
disabled, navigation and finishing a line do not check or format the source.
+ checks and formats the current line without affecting this setting.
These checks do not assemble the program or assign addresses to labels. To allow incomplete programs to be edited, they accept undefined labels and an unset origin. Full assembly may therefore report errors that the editing checks did not catch.
Error log
The ERRORS window contains errors from live syntax checks during editing
or the result of the assembly if one was just executed.
In command mode, +  goes to the next error in the active buffer,
wrapping to its first error after the last one. To select an error in the window, enter
the error log with +
goes to the next error in the active buffer,
wrapping to its first error after the last one. To select an error in the window, enter
the error log with +  as you would any window, move the selection with the cursor
keys, and press to jump to its source line.
returns focus to the editor while leaving the window open.
as you would any window, move the selection with the cursor
keys, and press to jump to its source line.
returns focus to the editor while leaving the window open.
Correcting a line removes its corresponding error the next time that line is checked (on newline or navigation to another line). A successful syntax check does not clear an error from full assembly, since some assembly errors cannot be detected by a syntax-only validation test.
Dismissing errors
Press +  in the editor to dismiss all errors on the current
line. This works in both insert and command mode. In the error window, press
DEL (the INST/DEL key without SHIFT) or + to dismiss the
selected error. Removing the last error closes the window.
in the editor to dismiss all errors on the current
line. This works in both insert and command mode. In the error window, press
DEL (the INST/DEL key without SHIFT) or + to dismiss the
selected error. Removing the last error closes the window.
Dismissed errors remain hidden when you edit or navigate away from their lines.
To check a dismissed line again without adding a newline, press
+ or complete the line again by pressing at the
end of it. The error will reappear if the line still has a problem.
Limits
The error window holds up to 16 errors across all buffers. Once full, additional errors are dropped.
Full assembly has a separate limit of 8 recorded errors. A further error stops assembly (fatal errors may stop it sooner).
The editor can remember 64 dismissed lines. If this table is full, another dismissal beeps and leaves the error visible, preserving the earlier dismissals.
UDG editor
Press +  to enter the UDG (user-defined graphics) editor.
This editor allows you to visually create simple graphics for your programs. Navigation
is done with the same vi-like commands used in the main editor and graphics are created using the
following commands:
to enter the UDG (user-defined graphics) editor.
This editor allows you to visually create simple graphics for your programs. Navigation
is done with the same vi-like commands used in the main editor and graphics are created using the
following commands:
COMMAND NAME |
KEY |
BEHAVIOR |
|---|---|---|
|
|
Sets the selected position to the background color |
|
|
Sets the selected position to the character color (hires mode) or the border color (multicolor mode) |
|
|
Multicolor mode only. Sets the selected position to the character color |
|
|
Multicolor mode only. Sets the selected position to the auxiliary color |
|
|
Sets all pixels in the UDG to the background color |
|
|
Exits the editor and enters (or updates) the .db commands to create the graphic in the editor |
|
|
Exits the editor without creating/updating the graphic contained in the editor |
|
|
If in hires mode, switches to multicolor mode or vice versa |



Entering the editor while on a line with an 8-byte “.db” definition (e.g. .db $ff,$00,$ff,$00,$ff,$00,$ff,$00) will pre-populate the
UDG editor with the character defined by these directives.
The blinking selection cursor begins on the top-left pixel. When it is visible, that corner may look misaligned; the ordinary outline appears when the cursor blinks off. The cursor does not alter the character data unless you plot a color.
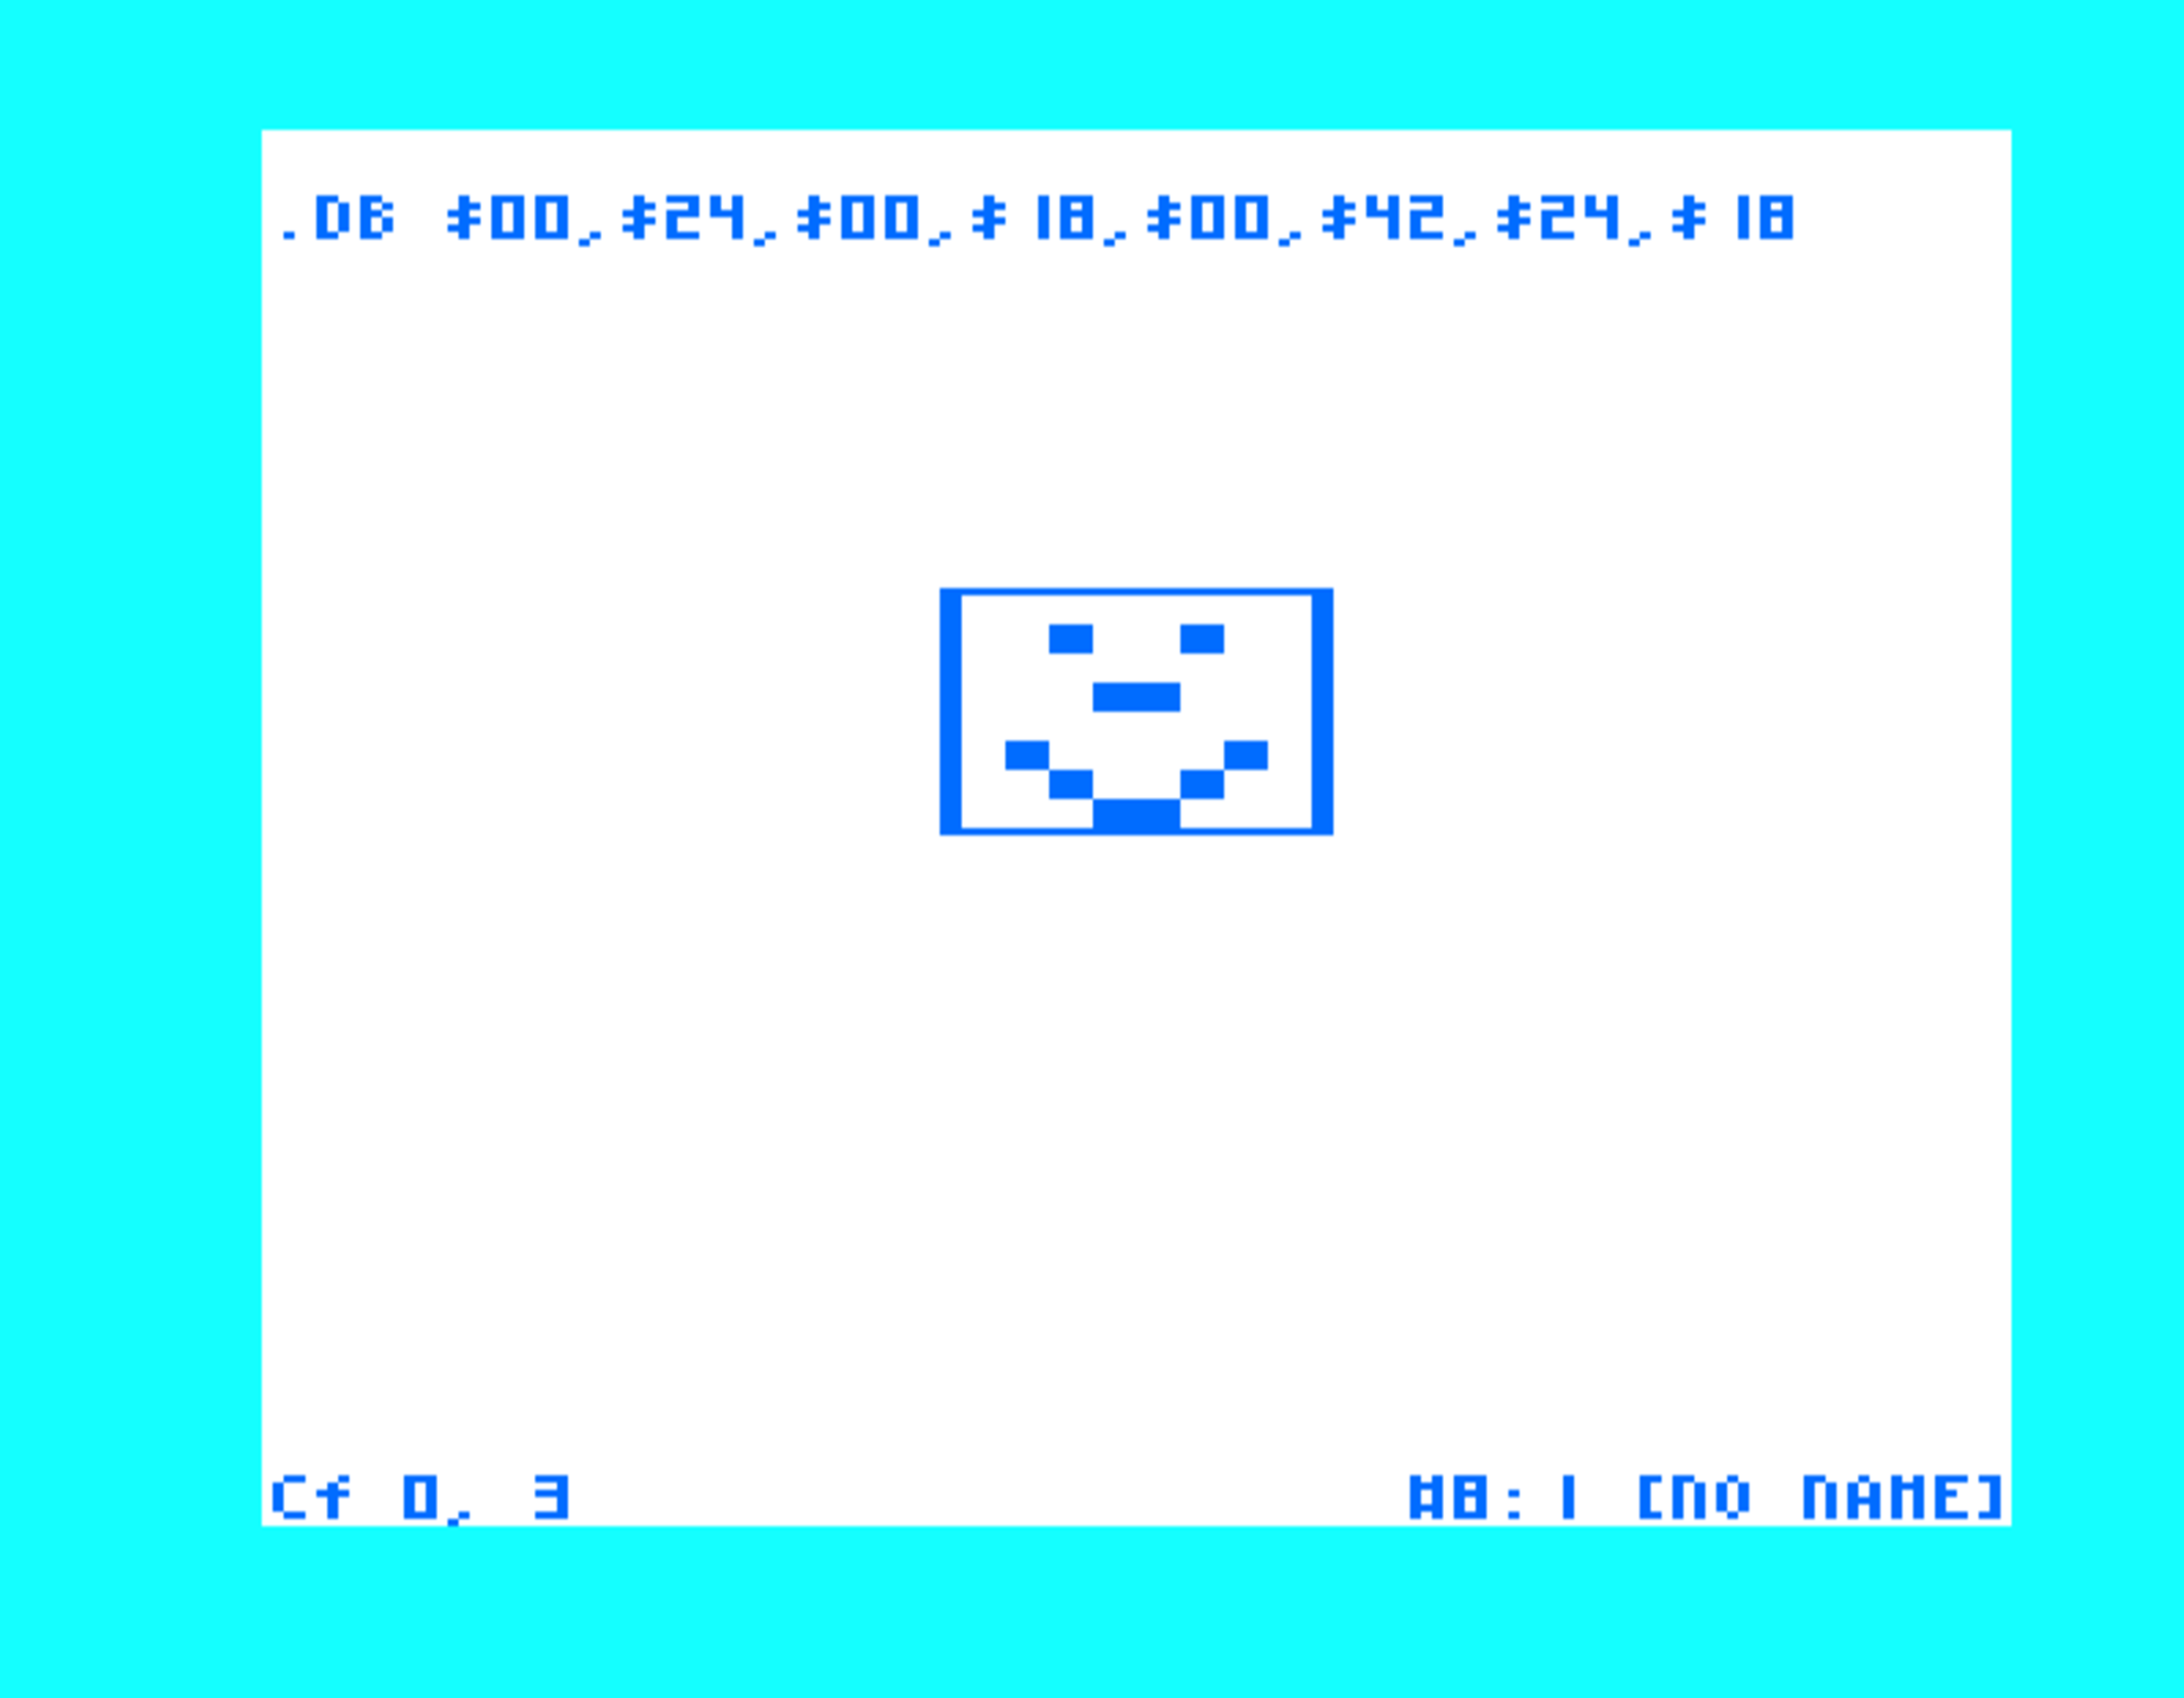
The UDG editor activated on a row of .db directives